In this Article...
We published about Revit column gridlines are not showing in certain level. When you open some floor plan view, you don’t see the grid lines.
This issue is typically because you added more levels after you created the gridlines. The gridlines won’t show if the new levels are higher or lower than existing level.
To solve it, you need to drag the gridlines control point in elevation or section view.
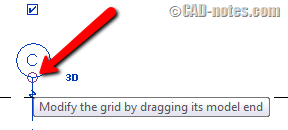
Now the other problem is when the gridline is arc. You don’t even see the gridline in elevation view or section view. So how can we fix the issue if we can’t see the grids?
In this example below, we have several arc gridlines.
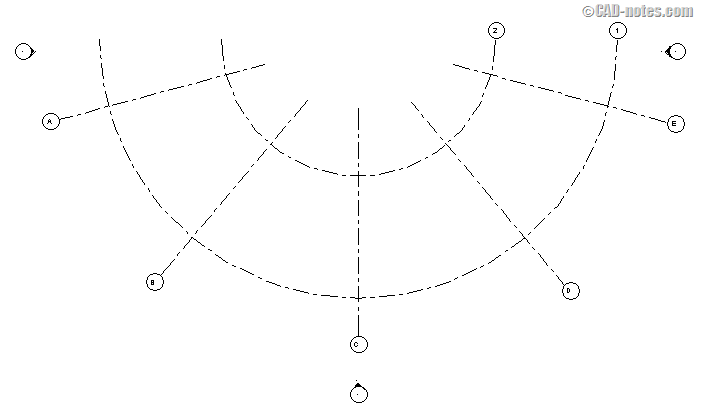
When I open the South elevation view, I only can see Grid C.
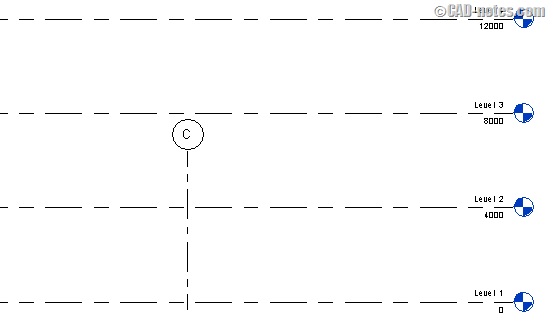
I can’t see the other gridlines, so I can’t drag it above. How can I fix this?
How to see arc gridlines in elevation/section view
You can only see arc gridlines in elevation/section views under 2 conditions.
Perpendicular to view
First, when the section/view is perpendicular with the gridlines. This applies to linear and arc grids. That’s why linear Grid C is visible, but the others are not.
You need to create a section perpendicular to the grid. You can override snap to perpendicular by using SP shortcut.
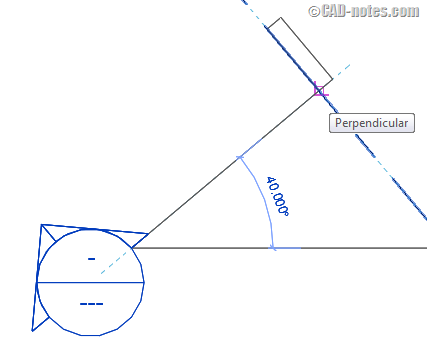
The view line coincides with the grid center
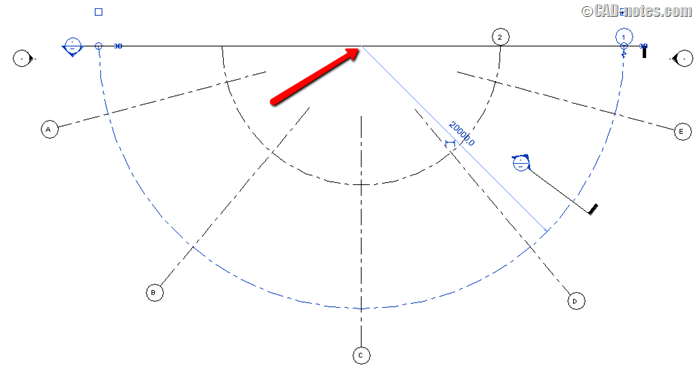
Second, when section line through the grid center. Check this image below. Make sure you use snap to center (override it by pressing SC).
And yes, certainly when the section line coincides with the grid center it also means it’s perpendicular with the grid.
Now you can see the arc grids in the section view. Because the grids are arc, you see the Grid 1 and 2 twice.

Basically, it doesn’t matter if the gridline is linear or arc, it will only show if it’s perpendicular with your view. The reason why I use arc grid as example is because most questions are asking about arc grids.
Now after you can see the gridlines in elevation/section, you can drag the control point. To let you can see the gridlines in other views.


