We’ve been placing wall in our Revit model. So far, we use generic type. It only has one layer, so you might not notice that you can actually define exterior and interior wall.
Activate modify tool. Select one of your wall.
![]()
You should see arrow symbol to flip your wall. The arrows are supposed to be on the exterior side of your walls. You see some arrow in your model lies in the interior side? Click the arrow to correct them. Save your file now. We will experiment by changing wall types, to understand more about walls.
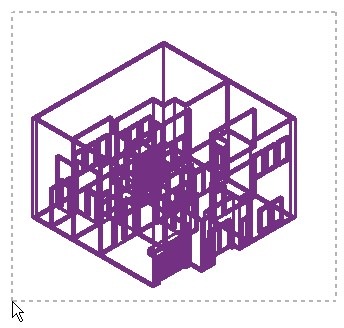
Open your 3D view. With modify tool active, select your whole model.

We only want to select walls, so we will filter out other kind of objects. Click filter in your ribbon.

From filter dialog box, deactivate doors and windows. Click OK.

Now the only type of object we have in selection set now, are walls.
From element category, in your ribbon, click change element type. Select: Basic Wall:Exterior – Brick on Mtl. Stud. If you see some error warnings, just ignore them for now.

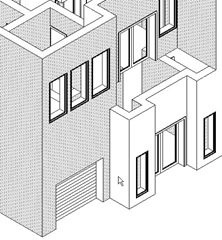
Now see image below. I didn’t correctly define exterior side for some walls. You can see that some walls are not showing brick pattern. If you can’t see the brick pattern, try to zoom in.

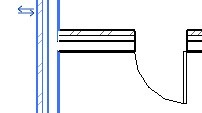
Open your plan view. You should see your wall pattern looks like this.

If you can’t see the patterns, change your detail level to fine.

In Revit, you are actually creating walls. Virtually, of course. But it’s not just lines. Your walls have properties and structure that you can define. More about this later. In the next exercise, we will define our own type of wall.
Try to experiment with other type of walls. Include curtain wall. After you finish playing with walls, close your project file, but don’t save it.
*You can purchase this tutorial compilation in an e-book. Find out the books in our E-Store .


butt butt booty butt
I always get fatal error what the best things to do before starting a drawing.. your tips help really to understand why i getting an fatal error…