In the last Revit MEP tutorial, we created pipe route and connected the plumbing fixtures by using the connectors. This time, we will connect the plumbing fixtures to the pipe with a different technique.
Open the tutorial file (you can also download the files for this tutorial here). Open the 1 – Plumbing floor plans view.
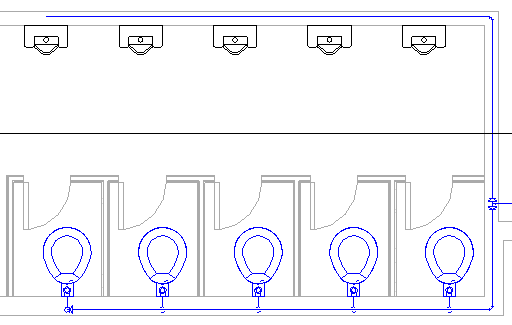
Examine the urinal and water closet color. The water closets are now blue because now they are connected to a system. The urinals are still black because they are not connected yet. We will cover about systems later.
Modify Pipe Length
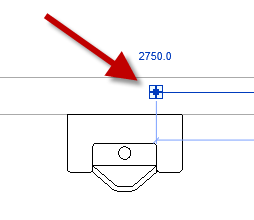
Zoom in so you can see the left most urinal. Select the pipe near the urinal.
Click and drag the pipe end to the left until you see the urinal is highlighted.
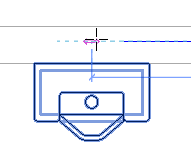
Revit will highlight the urinal to let you know that the pipe length has enough length to connect to the urinal. Release the mouse button to end the length change.
Now click the left most urinal to select it.
Connecting Plumbing Fixtures to Pipe
To make it interesting, open 3D view. If you forget how to open it, you can click the icon on Quick Access Toolbar (QAT) or from Project Browser.
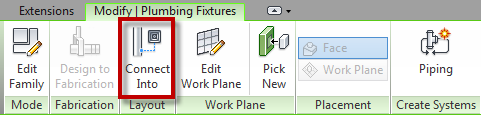
Select the last urinal. You need to select the last urinal because the result will be different if you pick another one. On the ribbon, click Connect Into.
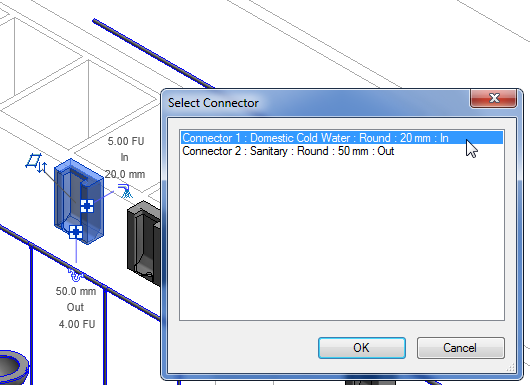
Revit will ask you to select which connector you want to connect. Because this urinal has two connectors, you will need to select which one. Choose Connector 1: Domestic Cold Water. Click OK.
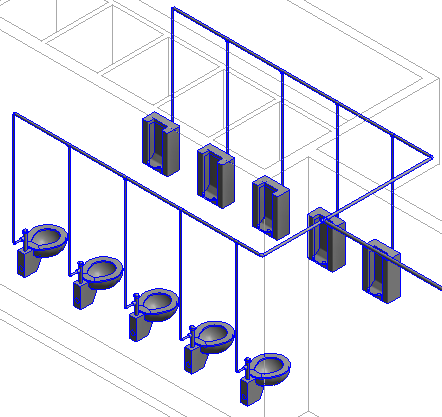
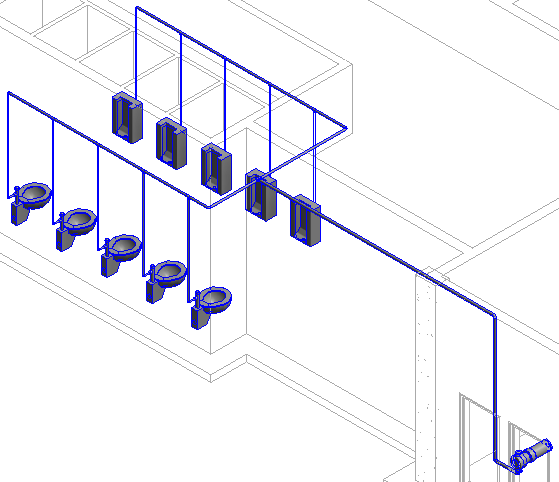
Select the pipe. You will see the urinal is connected to the pipe now. Repeat the procedure for all remaining urinals.
Now you can see all the plumbing fixtures are connected. You can see all the colors are blue.
Working with System Browser
Let’s check the system. Press F9 to open System Browser. Expand the Piping> Domestic Cold Water system. You will see a system automatically created after you connect all the fixtures. You can see the list of fixtures included in the system.
Revit automatically named it Domestic Cold Water 1. If you select the system, Revit will highlight it in the view.
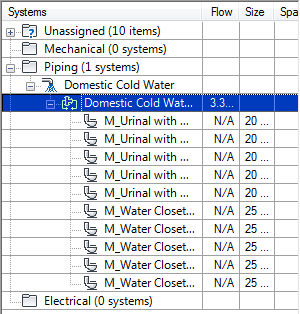
With the system name selected in System Browser, change the name in Properties Palette. Rename it to Toilet Water Supply.

Adding Pump
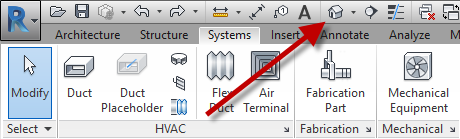
Open the 1 – Plumbing floor plans view. On your ribbon> Systems tab> Mechanical panel, click Mechanical Equipment.

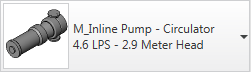
On Properties Palette, in Type Selector, choose M_Inline Pump like shown below.
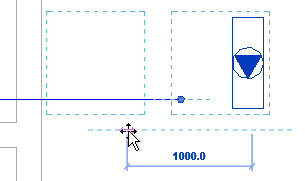
Move your pointer to the right at the end of the pipe until you see the extension line. Make sure your pointer is parallel to the existing pipe.
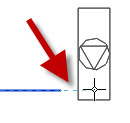
Move a bit from the pipe, because we can’t connect it if the pump is too close. Click to place the pump. Press Esc key twice to activate modify tool.
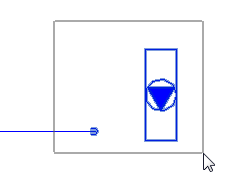
Select the pump then by using Connect Into tool, connect the pump to the pipe. Similar to connecting the urinals to the pipe. Select Connector 2 for Water out.
Select the pump, elbows, and vertical pipe by window selection.
Press MV to activate move command. Click the base point near the pump, move your pointer until the dashed rectangle near the wall. Click to complete the move command. You will see the pipe length is automatically shortened after you move the pump.
Now check again in System Browser. You will see the pump is added to the existing system.
We will cover more about systems in the next tutorial.
To Sum Up
In this tutorial, we learn about:
- Change pipe length by using grip
- Using Connect Into tool
- Introduction to System Browser
Having Problem Following the Instructions?
You can watch this video as a guide.
Or view the video on YouTube here: Replace Plumbing Fixtures and Using Connect Into tool.
Looking for more in this Revit MEP tutorial series? Check the Table of Contents here.


Hi, I am looking for a bit of help. after I connected the first 2 urinals I have been attempting to connect the remaining 3 but am getting this error.
The segment is being drawn from the wrong side to connect to the location you indicated.
Can we have a tutorial for designing plumbing systems for multi-storey buildings ?