In this Article...
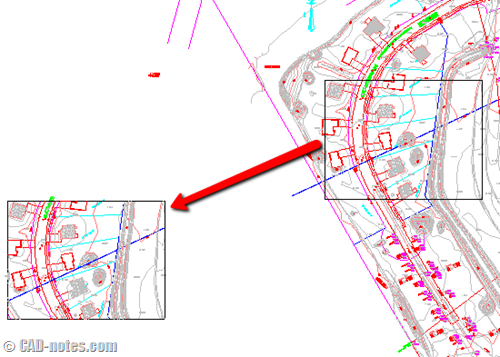
Do you need to copy objects within a rectangle, circle or polygon boundary like below?

Normally, I would recommend you to optimize AutoCAD layout. You can show a part of your drawing by creating viewport. However, we do need to do this once in a while.
We can copy it and trim the objects that extend the boundary later. But it can take too much time. Especially if you have so many objects like above.
A quick way to do it
This is a tip I found in CAD tutor forum by SLW210.
Export your layout
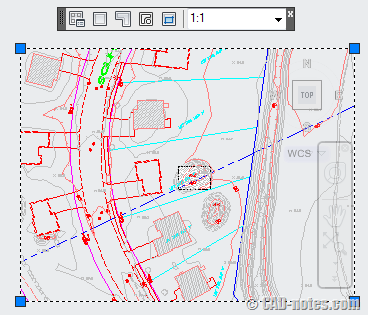
You can create a viewport in a layout that shows area you want to copy and trim away from your drawing.
Remember to set viewport scale to whatever you need. If you set it to 1:1 (full scale) then you will have the same size drawing. It doesn’t matter if your viewport boundary is too large for your sheet size. We won’t use it anyway.

After you have done, you can type EXPORTLAYOUT then [enter]. Remember, you have to do this in your layout.
Now you can save your layout as another drawing. You will have your drawing in model space there.
Copy it back to your original drawing
If you need to have that part of drawing in your original drawing, you have an extra work. You must copy that drawing and paste it to your original drawing.
Open exported file. Select all objects (or entities) you want to copy. Type COPYCLIP then [enter] (or press ctrl+C).
Open your original file. Type PASTECLIP (or press ctrl +V) to paste it to your original drawing.
It’s not perfect, but it does the job
I have to admit that this is not as easy as I expected. I wish AutoCAD has a tool that can do this directly.
For a simple drawing, probably this method is not effective. But for a very complex drawing, I prefer to use this method than manually trim and delete objects outside my boundary.
How about you, do you have a better method to do it?


Thanks very much for these tips,they expand my experience in autocad
@Edwin Prakoso
GREAT POST THAT BRO.
Perfect, so useful!
or make a rectangle, and type EXTRIM in Autocad
This works so perfectly.
Any reason why you wouldn't just use the EXTRIM command?
Thank you for the feedback.
The original question was asked by AutoCAD LT user. So EXTRIM wasn't an option. When I tried EXTRIM on my PC, there are some left over that I have delete after the process. It's really depends on your preference and your drawing. But I found this can do the job when EXTRIM doesn't work well.
AutoCAD does have a tool for this, but unfortunately it's only in MAP and Civil 3D. MAPTRIM
Edwin,
I'd never thought of this work flow, sounds interesting. On first impressions I think I'd rather turn the original into a block and use Xclip to grab the section I want.
Great stuff, keep it coming!
I never thought of XCLIP-ing too!
But if we need to modify the objects, I think this is a preferred method. All credit is for SLW210, for posting the original tip on CADTutor :)