In this Article...
Do you ever need to have a floor plan with different view range? Sometimes you need to show different height in a specific area compared to the rest of the floor plan.
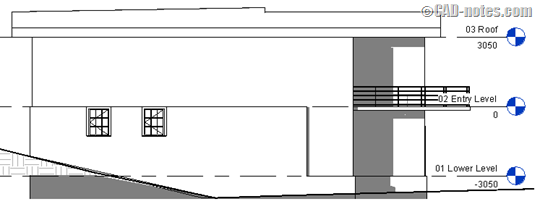
Let’s take a look at this example below. There are two windows in the elevation view.
But when you open the floor plan, you can’t see the windows.
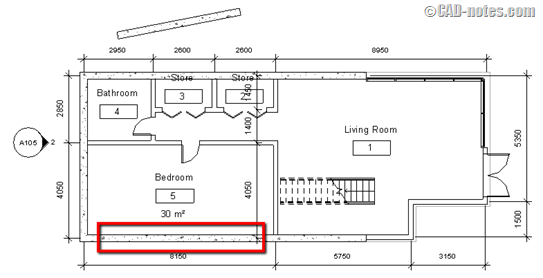
The reason why we can’t see it is that they are placed above the cut plane of the plan’s view range. The floor plan cut the model at elevation 1200 mm, but the windows sill height are at 1700 mm. So I need the cut plane at the elevation more than 1700.
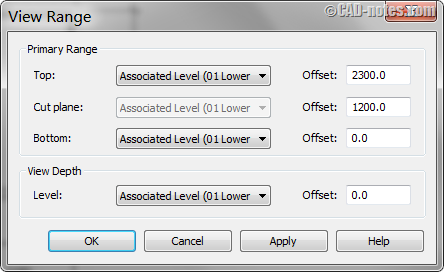
About the view range
If you are not familiar with view range, this image can help to set the options above. This image was snipped from Revit help about view range. Read it if you need more information.
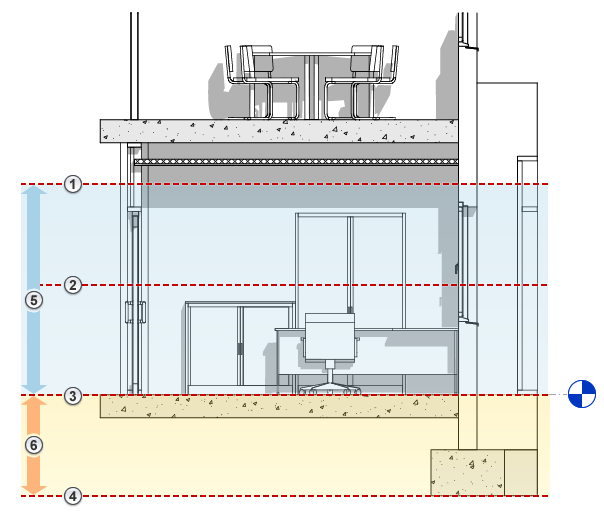
- Top
- Cut plane
- Bottom
- Offset
- Primary Range
- View Depth.
Working with Plan Region
Changing the view range is not always applicable. Sometimes when we change the view range, we see other components disappear from our floor plan. So you need to define different view range for that particular area.
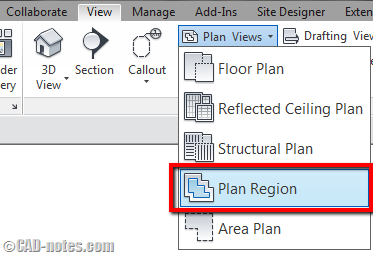
You can do this by using plan region. You can find this tool in View tab> Create panel> Plan Views drop-down> Plan Region.
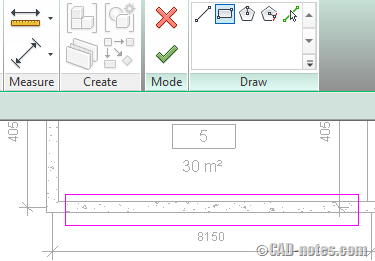
You will need to define the plan region using sketch tool. Draw the sketch as necessary, then click finish. In this example, I only need to create a rectangular boundary.
Now when you click the boundary you created above, you will see View Range in Properties Palette. It’s the only property you can change for this object.
Click it and change it as necessary. After you set the view range correctly, you will see the windows now appear.
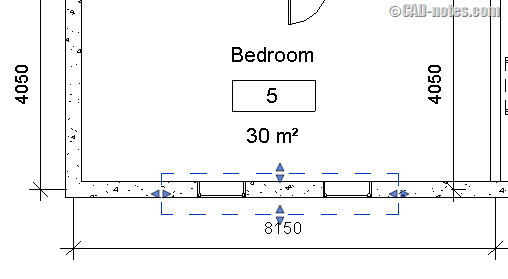
Working with view range can be frustrating when you start using Revit. Many times it doesn’t work as we expected. Plan region can really help, doesn’t need?


Thank you very much. This was so helpful
Thanks !! This is really helpful..!