I’ve got this question a few days ago. How can we create 3D curtain in AutoCAD?
There are several ways to do this. I remember in the my first 3D lesson, I created it using polyline then give it thickness. Many version later, my favorite way to do it is by using LOFT.
Preparation
Before you can start using LOFT, let’s try to create the skeleton. Not sure if I use the right term, but let’s just call it skeleton for now.
Creating skeleton
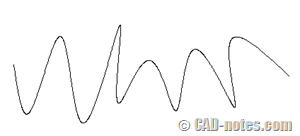
Create a SPLINE similar like below or as your preference. This is from top view.

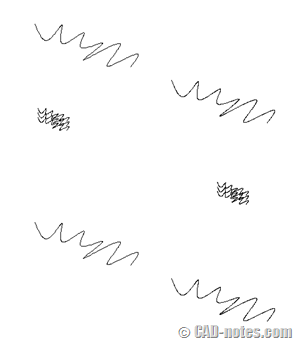
Next, you must create at least one more profile above the first one. Depends on how you want the final result, you can create several more SPLINES. Create as many as you need to be able to control how it looks.
I just copied the first one along Z axis, then scale and move them as necessary.

Now you are ready!
Using LOFT
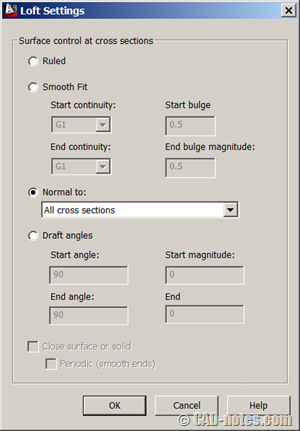
Activate LOFT, then select mode surface. Select the profiles sequentially. Press [enter] after you select them all to end selection. And after you end selection, choose Settings.
See command line history below as reference. I use 5 profiles, you might use different number.
Command: LOFT
Current wire frame density: ISOLINES=4, Closed profiles creation mode = Surface
Select cross sections in lofting order or [POint/Join multiple edges/MOde]: MO
Closed profiles creation mode [SOlid/SUrface] <Solid>: SU
Select cross sections in lofting order or [POint/Join multiple edges/MOde]: 1 found
Select cross sections in lofting order or [POint/Join multiple edges/MOde]: 1 found, 2 total
Select cross sections in lofting order or [POint/Join multiple edges/MOde]: 1 found, 3 total
Select cross sections in lofting order or [POint/Join multiple edges/MOde]: 1 found, 4 total
Select cross sections in lofting order or [POint/Join multiple edges/MOde]: 1 found, 5 total
Select cross sections in lofting order or [POint/Join multiple edges/MOde]:
5 cross sections selected
Enter an option [Guides/Path/Cross sections only/Settings] <Cross sections only>: S
In loft settings dialog box, change control to normal to all cross sections. You might want to experiment with the settings. Don’t worry, you can change this settings later using properties palette.

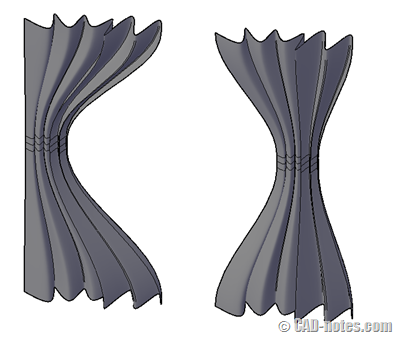
This is the result with my profiles. Quite nice, aren’t they?

Fine tuning your curtain
If you feel that your curtain doesn’t look good, don’t worry. You can modify it as necessary.
Changing properties
You can select the curtain then change properties in properties palette. Here you can change the surface normals, U isolines, etc.
Stretching grips
You can fine tune the curtain looks by selecting the profile (not the loft) and drag the grips to adjust it.
Got trouble? Follow the steps in this video!
It’s nice to have this feature now. In the past, there are more works just to create a simple form like this. What about you? Do you have other preferred method?


Hi thanks for the great tip. You made it VERY easy to learn and apply..
translet gaaaan..plis