In this Article...
We have already discussed how you can create conceptual design in Revit Architecture. Now we will step further by using Revit adaptive components. What we will do now is to create a conceptual mass to create a roof for Tongkonan house, a traditional Indonesian architecture like below.
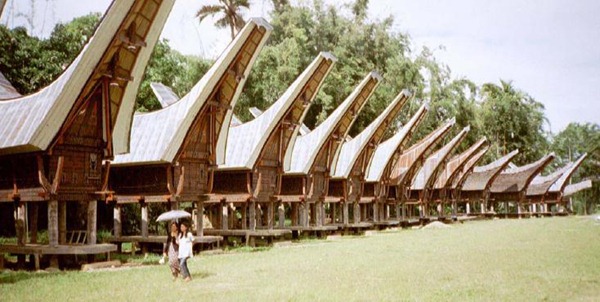
Image source: batusura
There are some more pictures you can see here. Or if you want to know more about this Indonesian traditional architecture, you can read it on Wikipedia here.
Creating the Path
Now let us create a new project, and create a mass. In this example, I created four sketches like below.
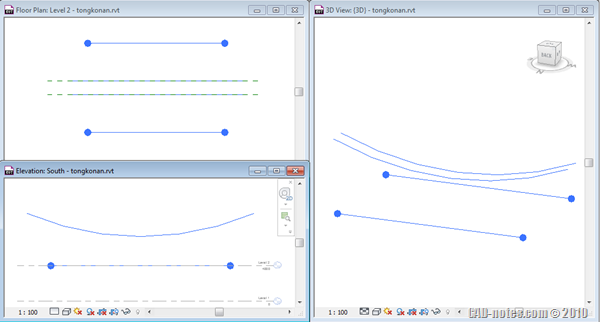
The sketches are created to provide references to place our 2d profile later. We can create profiles to this mass directly, but as you know, we need to define the planes before we can create the path. And it might not be easy. So we will try an alternative way: using adaptive component.
Creating the Adaptive Component
To create an adaptive component family, access from Revit menu> new> conceptual mass.
![]()
When Revit ask you to choose a template, choose Metric Adaptive Component.rft.
We are going to create a simple profile family. We need four points to place at our four paths. Open floor plans> ref. level.
Activate point element.

Now place four points at this view. The point location is not critical.
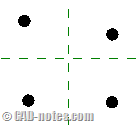
Now we need to define the point as placement point. Select all four points, then change the point property in properties palette. Select placement point (adaptive).
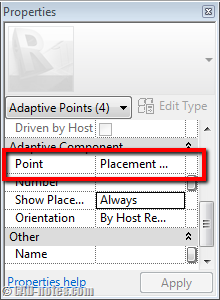
Now you should see numbers next to your points. The numbers show the sequence of adaptive points placement. So you have to see it in this order. It may clock wise or counter clock wise, but not crossed each other.
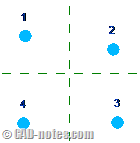
Now activate line. It will be easier for us to use 3D snapping, so activate it from option bar.
![]()
Create four lines like below. Make sure you snap to the points.
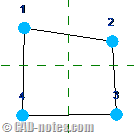
Save the family, and load it to your project.
Placing Adaptive Component
Now expand your browser, under families group, adaptive component.

Right click above the family name. Choose create instance. Now snap to the end points to create a closed profile. See how the lines length adapt to the point location? Isn’t that cool?
Do it for each end and in mid points. Now you have enough profiles to create form!
Creating Mass Form
The next thing you should do is select the three profiles. Hold [ctrl] then click on each profile to do it. After all of them are selected, click create form.
![]()
You should see the form created now. If you compare this method with by manually sketching the profiles, then this is much easier!
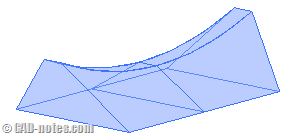
Now that we have the mass, we can convert the faces to roof. Very nice feature, isn’t it?
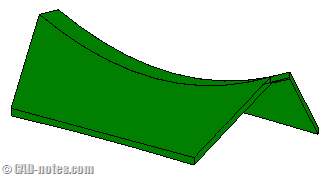
As usual, you can follow how to create it based on animation provided. Here is how you can do it:
Have fun with it!


