AutoCAD layout is a feature that can help to increase your productivity (see this infographic). In this tutorial, we learn how to create a page setup and a title block for that particular setup. You can use the setup and title block in your future design quickly.
Working with Page Setup
First, we create the page setup. Page setup has the information such as page size, print scale, and plot style. Page setup allows you to save the settings and you don’t have to change the settings each time you create a layout.
Create a new drawing
Open AutoCAD and create a new drawing. Use an appropriate template for this file. If you don’t have a custom template yet, you can use acad.dwt for imperial or acadiso.dwt for metric. For this tutorial, use acadiso.dwt.
Create a page setup
To work with page setup, you need to be on a Layout. Click Layout1 tab to open it.
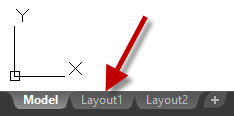
After you go to a layout, you can see Layout tab on your ribbon. Click it, then find Page Setup on Layout panel. Click the Page Setup command.
Alternatively, you can type PAGESETUP then enter at the Command Line
![]()
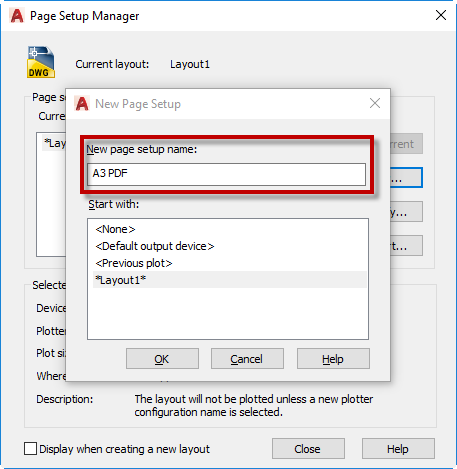
On the Page Setup Manager, click New. Name it A3 PDF. Click OK.
AutoCAD will open the page setup settings. Make sure you check these following settings:
- Change the plotter name to AutoCAD PDF (General Documentation)
- Change the paper size to ISO A3
- Change Plot Area to Layout
- Change Plot Scale to 1:1
- Change Plot style table to monochrome.ctb (or your default plot style)

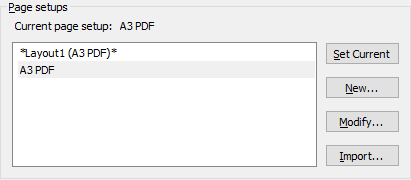
Click OK. You can see the new page setup on the list now.
Applying Page Setup
Select A3 PDF in the list then click Set Current.
- You can also double-click the page setup to apply it to the current layout.
- You can import Page Setup from another DWG file in this dialog
The Layout name now shows the page setup behind the layout name.
The Title Block Size
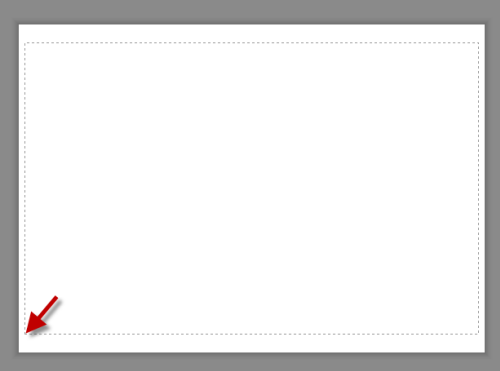
After you apply the Page Setup, check the layout. Notice the dashed line inside the white area. The white area represents your paper size, and the dashed lines show the printable area. The left bottom corner of the printable area is the origin of your layout (coordinate 0,0).
Your title block must fit the printable area size. The question is: what’s the title block size?
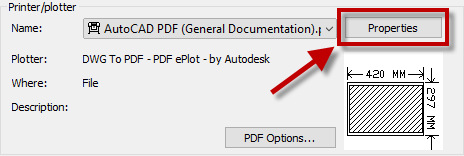
Open your Page Setup again. Select A3 PDF and click modify. In the page setup dialog box, click Properties next to the plotter name.
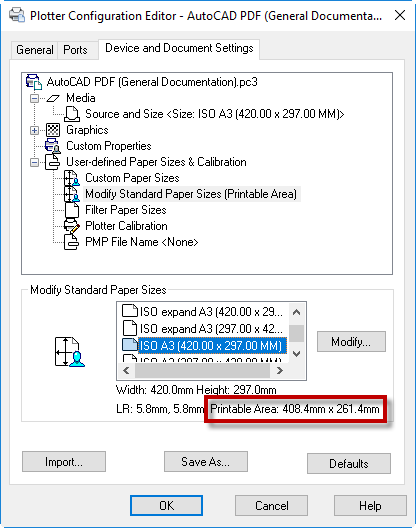
Under User-defined Paper Sizes & Calibration> Modify Standard Paper Sizes (Printable Area) select the paper size that you use (which is ISO A3). You can see the printable area listed at the bottom.
That is your title block size.
The printable area can be different for different printers. The difference is not significant, and you can modify the margin to adjust the printable area. If you have several plotters/printers, you may need to create different title blocks or match the printable area.
You can create the title block, but this time download this title block for this exercise (2018 version) or this one (2013 version).
While in the Layout1 tab, activate Insert Block tool.
- Click browse and find the title block file you downloaded
- Uncheck Specify On-Screen in Insertion Point category. Make sure X, Y and Z values show 0.
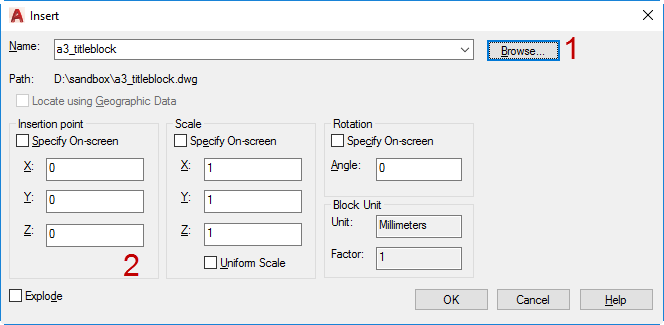
Click OK. You should see the title block is placed correctly.

More about Page Setup Usage
Page Setup allows you to change the settings quickly when you draw. You only need to set it once, then you can use it for all our future drawings. If they have the same settings, of course.
You can also get the benefits of using page setup when using PUBLISH command. You can batch plot your drawings quickly without defining the print setup.
Have you used Page Setup? Does it help? Can you share your experience with us?


Thanks for your blog but was unable to open the sample title block you have included
The title block was saved in 2018 format. If you use an older version of AutoCAD, download and use this file.
For printable area size I click rectangular viewport and hit enter to default to fit it to the printable area giving me corners I can snap to.
Your tutorials are a great reference,
Thanks!
Thank you, Tom.
Yes, using the viewport command is the easiest way to get the printable area size. In fact, I use it to create the provided title block.
I was referencing to the printer properties to let people aware that the size can be different for different printers, and they can modify the margin.
Again, thank you for bringing this up!