The idea of this post came up after I saw this thread in CAD Tutor: How to zoom to a point quickly?. It makes me think is there any easy way to do it in vanilla AutoCAD without programming knowledge?
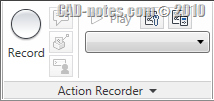
Then I remember action recorder. I decided to give it a try. If you are not familiar with action recorder yet, you can find the panel in manage tab of your ribbon.

It is very easy to use. No programming knowledge is required!
What we want to do is to zoom to a specific point, either by clicking at the point or by typing the coordinate. We can do it by using zoom, select center as the method. Now that we understand what we are going to do, let us start.
Click record button to start recording. Your pointer now should show recording symbol. Everything you will do will be recorded.

Activate zoom center.
![]()
Zoom center will ask you to define the center point. Click any point you want.
Next, you need to define the magnification. You can define by scale ratio (2x, 4x, etc) or giving distance input. I think the last one is preferred. You will see the drawing at the same scale anytime. So pick 2 points as your favorite distance. Your display will be shown at that particular size.
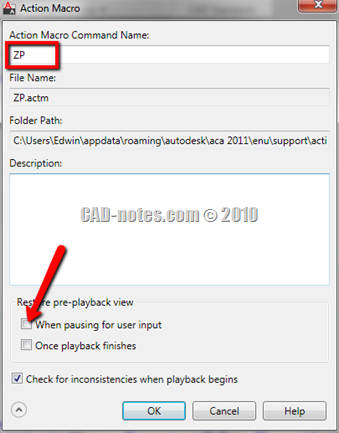
We are done. Click stop at the action recorder panel. When AutoCAD ask you to save the macro name, give it a short name. I use ZP (for Zoom Point) so I can type it quickly using command line.
Make sure restore pre-playback view turned off. If you turn it on, after the macro has finished, it will restore the view. So you will see nothing is changed.

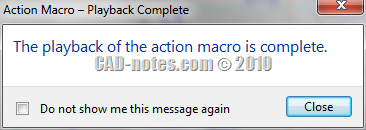
Click OK. Zoom out to see your whole drawing. Now test it. Type ZP or simply press play button. The macro will run the command sequence! If you see the notification after you have finished running the macro, you can choose not to see it again. It is very annoying for such a small macro!

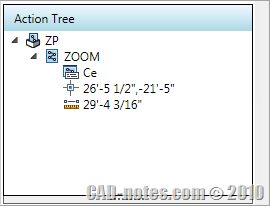
There is something missing. The macro will always point to the same coordinate. We can’t use it if we can’t define the point coordinate, right? Open the action tree. You can click small rectangle at the panel bottom to expand it.
Now we can see what command sequence the macro does. It will activate zoom, change mode to center, picking coordinate, and enlargement ratio.

We want to intercept the point input, and let us to pick desired point. So right click above the action, and choose pause for user input. If you feel the zoom ratio is not comfortable, you can edit the value. You can also choose to let user to define their own zoom ratio.

Now test it again. Very useful isn’t it?
If you have an idea how we can use action recorder in other cases, I really like to hear it. Please share it here!
Some Notes
Action recorder is useful for simple macros, but if you are an AutoLISP guru, you will not be pleased with it. There are many limitations, but at least it allows us who don’t know anything about programming to create a simple macro.


This is awesome , But i think an action recorder for Zoom to object will be more helpful too. I am not able to figure it out can u please help me
really very helpful notes…thanku…