In this Article...
We had some Revit conceptual design tutorial before. We covered how you can change the mass faces to building elements. But the default curtain system is kind of boring. We can only use horizontal and vertical mullion.

LOS ANGELES HIGH RISE
© Salvador Ceja | Dreamstime.com
In this post, we will try to create more fancy curtain system. These kind of design is quite popular these days.
This capability is added in Revit 2011. So if you have Revit 2010 or older, unfortunately you can’t follow this tutorial.
Dividing surface
Try to create a mass element. You can create mass in place or using mass family. We are going to work in mass editor environment.
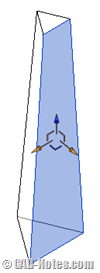
Activate modify tool. Now select a face of your mass.

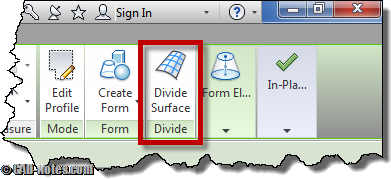
Click divide surface from your ribbon.

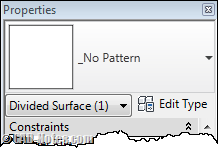
Divided surface properties
After we divide the surface, you should notice there are several changes:
You can turn on/off U and V grid from ribbon

You can set U can V grid by number or distance using option bar
![]()
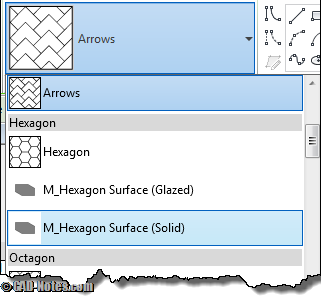
You can change the surface pattern from type selector

Play around with those settings.
This is what I get after Ii change the pattern to arrow and adjust the distance using option bar.

Using curtain panel family
Default Revit template only has simple patterns. Only pattern lines and fill. If you use them and finish your mass now, it will remain as part of your mass. Not yet a curtain system. It will disappear if you turn off the mass visibility. And it will not appear in your schedule.
If you want to create curtain system from that surface, you need to load curtain panel family.
Activate load family. You should find curtain panel by pattern folder. Try to find one that you like inside that folder.

After you load it, you should find the family in type selector.

These panels are adaptive components. Can we make our own curtain panel? Of course. We will cover this later.
Further readings
- Find the complete Revit tutorial here.
- Adaptive component introduction: Working with adaptive component (2D profile).


hey, do they not have the devide surface option in Revit 2012?