In this Article...
If you are following MicroStation tutorial in CAD Notes, you may wonder how you can arrange your drawings or even 3d models to a sheet. Then you will want to plot it. In this tutorial, we will start from creating a seed.
A seed is a template file. We use it to create a new design file. Having a seed file that met our requirement will help us to save time. You will see why in next tutorial.
Creating a sheet model
Create a new file. Use seed2d.dgn as seed file.
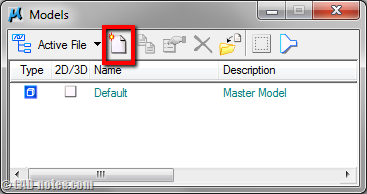
From MicroStation menu, choose file>models. This will open a dialog box. By default, using default seed file will create a file with one design model. Now let’s create more model. Click create a new model.
Another dialog box will open. Fill the fields as follow:
- Type: sheet – 2D
- Name: A1 sheet
- Description: CAD Notes A1 default (or you may use your company name)
- Size: ISO A1
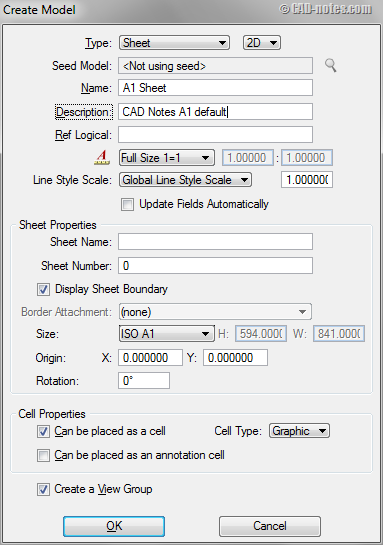
Click OK after you finished.
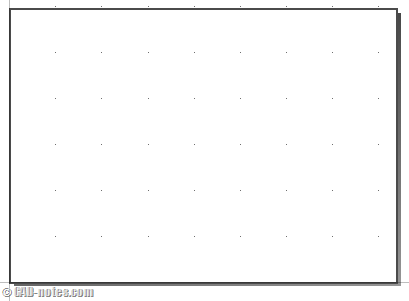
You should see the new model opened. It should have sheet boundary in your view. That is ISO A1 paper size.
So how you can switch between design model and sheet model? You should see the list in view group, above MicroStation status bar.
![]()
Notes for AutoCAD users: This is similar to AutoCAD layout.
Adding title block to sheet
Now we have the sheet. Your next task is to create the title block inside the boundary. If you already have a standard title block, you may use it. If you don’t, you can use the sample file.
Open a new MicroStation session. Do not open the file in your current session.
Browse to this location (for Windows 7, you may need to find it in other folder if you use Win XP or Vista)
C:\ProgramData\Bentley\MicroStation\WorkSpace\Projects\Examples\Building\seed
Open BSI300G-0-Border.dgn
It should show title block drawing. Select all objects in the drawing then choose in menu edit>copy.
Now move back to our previous file. From MicroStation menu, choose edit>paste.
Place the title block inside the boundary. You may need to move it later to place it precisely.
Press [ctrl] + F to save the setting. This will make MicroStation open this model by default, not the empty design model.
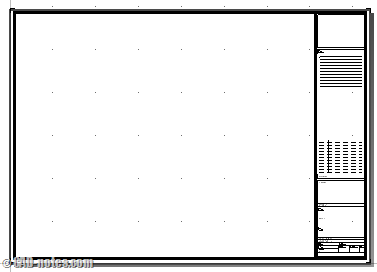
Now we are finished creating our seed. We will use it in our tutorial later, to place our drawings here.


Your last sentence, ‘We will use it in our tutorial later, to place our drawings here.’ However there is no link to the next tutorial, which I need to proceed. Thank you for your work here!
Thanks for great tutorials, AB in Iceland