Let us continue the Revit conceptual design. We already cover a bit about Revit free form modeling in previous tutorial. This time, we are going to explore Revit free form further.
Open your previous Revit mass family. Now save it as to different name. We will use the first mass as alternative design 1, and now we are going to modify it a little and consider this as alternative 2. Give it name that reflects it. I use option 1 and option 2 as the Revit family file name. You can rename the file name if you want it too. The idea of using Revit mass family is we can switch between alternatives quickly, something we can’t do with in-place mass.
Enabling X-Ray Mode
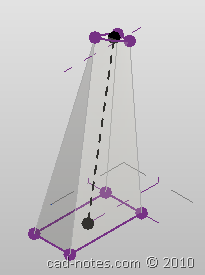
After you open the Revit mass family, click the mass to select it. Revit will open contextual tab. Click X-Ray on Revit ribbon to activate X-Ray mode.

Now we see the Revit mass like below. It is easier for us to see the mass sub objects now. The points are bigger, and we can see through the mass.

Adding More Profile
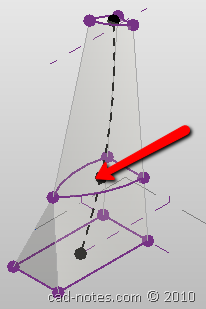
You don’t need to activate X-Ray mode to add profiles. However, I found it easier to see the new profile placement using x-ray mode. Now try to add a profile, activate add profile.

Move your pointer to the mass and see the preview of your profile before you add it. Move your pointer until you think the place is right, then click your mouse.

Editing Profile
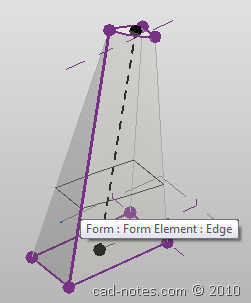
Just like creating any other Revit form, you can edit the profile. Select the profile and click edit profile. Remember, you can cycle between selection before you click it by pressing [tab].
![]()
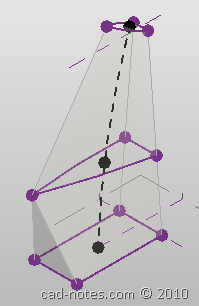
Modify the profile, create a different shape if necessary. You may try to follow the shape below. Or probably more extreme. I believe many of you a better designer than I am :)

Now fine tune your mass by dragging the points, edges, and surface! Quite interesting this Revit free form modeling capabilities, right? Here is what I get.

I try to make this a habit. I created a video for you to follow. Subscribe if you like the videos on the YouTube channel!


In your example you have straight lines between the 3 different profiles.
When i'm doing this they are getting curved.
How can i get them like yours?