Dynamo has gained its popularity. Many Revit users heard about it now. The problem is most of us think it is difficult to use. Watching the demo video is like watching David Blaine in action: everyone thinks it’s impressive, but we feel like it’s out of our reach.
Dynamo is a programming language. You can use it to automate a simple process or help you to design a complex model. This tutorial series covers the basic to help you automate your daily tasks. The objective is to encourage Revit users to use Dynamo for automation for productivity.
In this introduction, you will learn how to place an element by it’s coordinate using Dynamo. You can’t place element in Revit by coordinates, so this is where Dynamo becomes handy.
Starting Dynamo
You can start Dynamo using the icon in Revit Ribbon> Manage tab> Visual Programming panel> Dynamo.
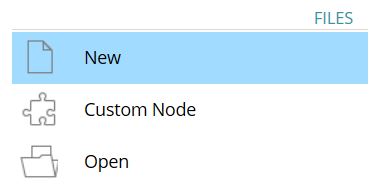
In the Dynamo start up page, click New under Files category.
Dynamo Interface
Dynamo opens a new definition. Let’s review the interface.
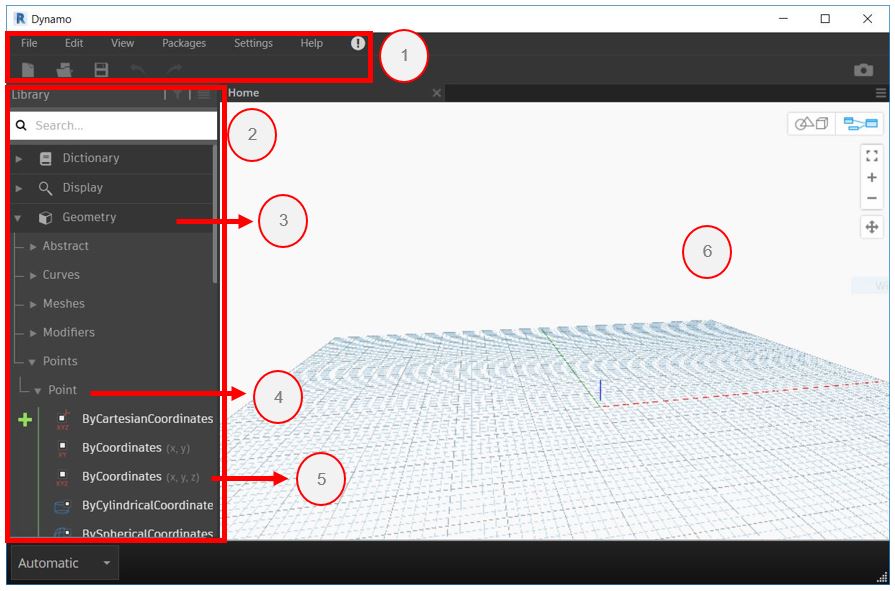
- Menu bar and toolbar. They are default features in Windows programs.
- Dynamo Library. You can find all the nodes in the library.
- Category. Dynamo groups the nodes logically in categories, allows you to find a node easier.
- Subcategory. Dynamo groups the nodes into smaller subcategories.
- Node. Select a node to place it to your workspace.
- The Workspace. We develop the program here. You can see the geometry in the workspace as well.
Working with Nodes
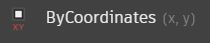
As shown in the image above, in the Dynamo library, under Geometry category, Points subcategory, Point subcategory, click node ByCoordinates (x,y).
Dynamo places a node in the workspace.
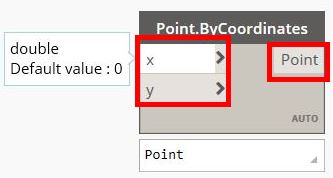
A node execute an operation. Point.ByCoordinates node creates a point from provided coordinates.
A node has ports on the left side for input, and on the right side for output. Place your mouse pointer on the x port. Dynamo shows a tooltip. It shows the data type for that particular node. Double is a computer number format. You need to provide a number as an input to this port.
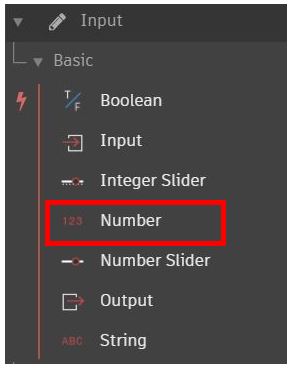
Let’s provide inputs. In the library, under the Input category, Basic subcategory, click Number node.
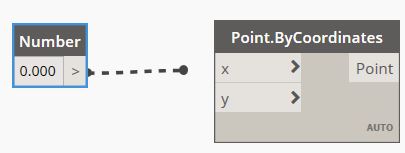
Click the number node title and drag it to the left of the Point.ByCoordinates node. Click the Number node port then move your mouse pointer to the Point.ByCoordinates x port. You just provided the x value.
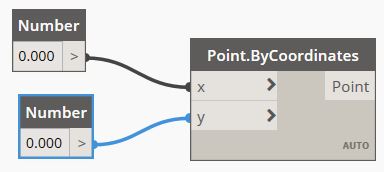
Repeat the process for y value.
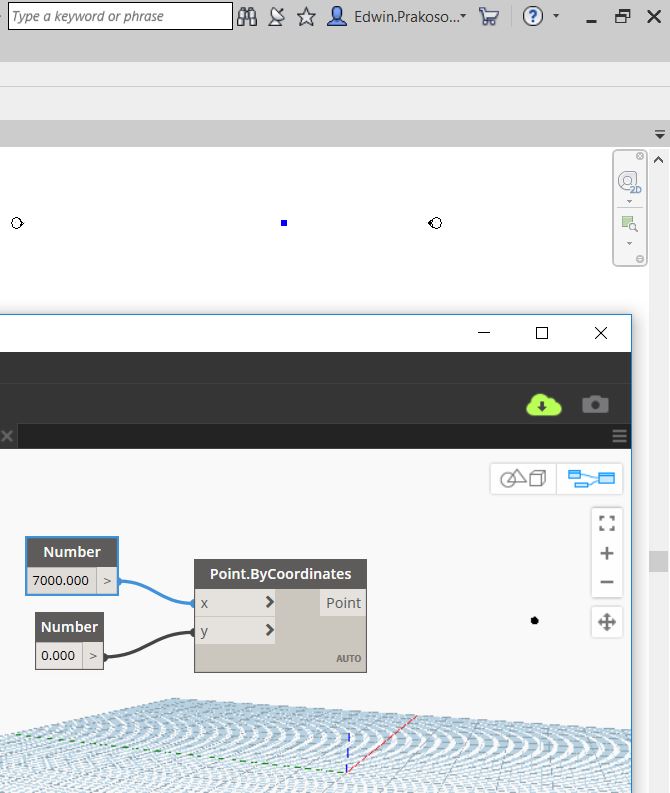
You can modify the number and see the point position in Revit and the workspace moves. Try to change the point several times.
Also watch
We will learn how to interact with Revit elements in the next tutorial.


