We are working with Revit MEP heating and cooling loads now. Before we can do the analysis, we need to define the spaces. Spaces have the information to run the calculation correctly.
For this tutorial, we will work on a new file.
Create a New MEP File and Link Architecture Model
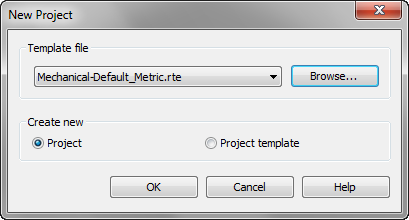
Create a new file using default mechanical template.
Link the sample file to your new file. You can find the Revit sample files in this folder: C:\Program Files\Autodesk\Revit 201x\Samples.
Link file rac_advanced_sample_project.rvt to this file. You can refer to our first tutorial if you have difficulties in linking the file: Create a new project and link architecture model.
Enable Room Bounding
By default, you can’t use Revit link walls as room bounding. You need to enable it before we continue.
Click the linked file in your view until it’s highlighted. In the Properties Palette, click Edit Type.
Check the Room Bounding option in the Type Properties. Click OK to close the dialog.

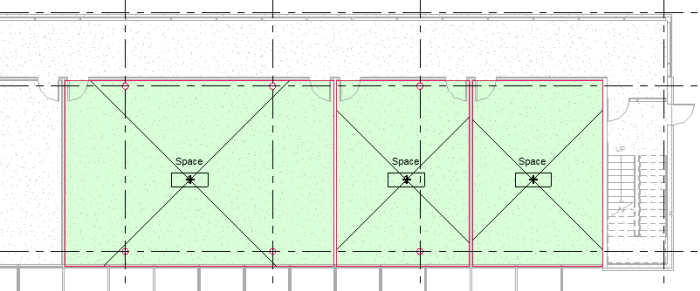
Creating Space
If you are familiar with creating rooms in Revit Architecture, then creating Space is similar. You can find the tools in Analyze tab> Space and Zones panel.
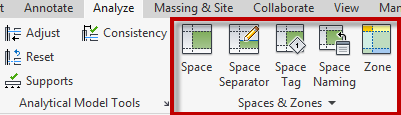
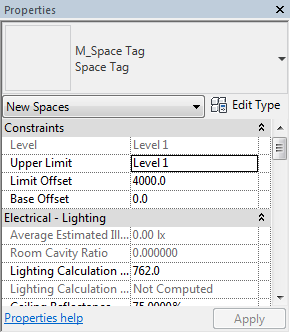
Click Space to activate the tool. Review the properties on the Properties Palette.
Hover your mouse on a room. You can see the preview of your space, click to place it.
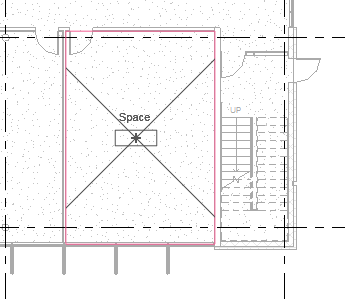
Repeat the steps above to a few rooms.
Place Spaces Automatically
You can manually place the spaces following the steps above. But if you want to automatically place all spaces, you can click Place Spaces Automatically on the Modify tab. It will create spaces for all rooms that is closed by wall boundaries.
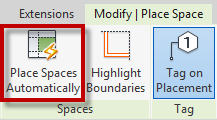
You might want to check the boundary first using highlight boundary tool
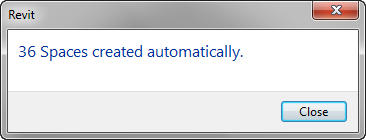
After Revit completed creating spaces for this floor, it will show this summary.
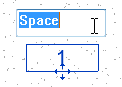
Renaming Space
You can rename a space by clicking the space name. Type the new name then press Enter.
Use Architecture Room’s Name with Space Naming
Space and rooms are using the same boundaries. You may want to rename your spaces with the same name as the room’s name. It will be a tedious task to rename all the spaces.
You can use Space Naming tool. This tool is included since Revit 2017.1. However, if you use the older version you must install Space Naming Utility separately.
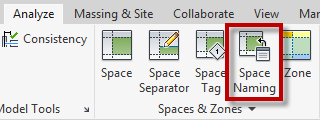
Click the Space Naming tool. The tool will offer you these options.
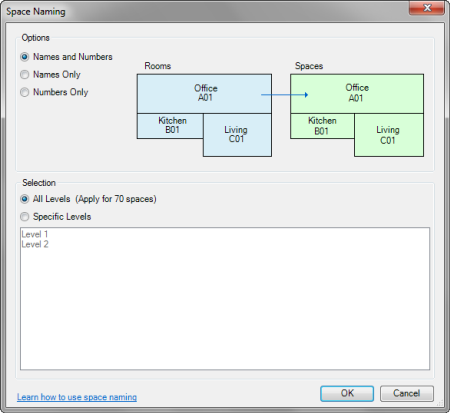
Change the options if necessary then click OK to change the names.
We will continue working with spaces in the next tutorial.


Hello
My name is Runólfur and is from Iceland. I’m your great fan and always read your news papers. The other day, you were talking about space in MEP.
I would like to ask a question as to when a reference file is placed, it does not appear what the rooms area called and not what they are in square meters. How can I see it in the MEP environment? And let it be bold.
Sorry about my english.
Hi Runólfur,
The reason why you can’t see the room tag in MEP views is because the tags are disabled. You can show the tags by checking the room category in Visibility Graphics (Press VG).
Find room in architecture category and enable it.
I hope this helps.