• Home
  • Training Books
  • Subscribe to Our Email Newsletter
  • About
    • Contributors
    • Feedback
    • Contact
    • Privacy policy
    • Cookie Policy
  • Bahasa Indonesia

CADnotes

CAD Tutorials and Best Practices for professionals and students

  • Featured
  • AutoCAD
    • AutoLISP
  • Revit
    • Revit Architecture Basic
    • Revit MEP Basic Tutorial
  • Inventor
  • MicroStation
    • MicroStation Basic Tutorial
You are here: Home / Revit / Revit MEP Basic: Placing Lighting Fixtures and Equipment

Revit MEP Basic: Placing Lighting Fixtures and Equipment

October 19, 2017 by Edwin Prakoso 3 Comments

In this Article...

  • Placing Lighting Fixtures
  • Placing Switch
  • Placing Panel

In our Revit tutorial, we created plumbing and ducting design. We are going to continue working with the model by placing the lighting. If you are interested to follow the tutorial from the start, you can see the contents here: http://3dme.xyz/RevitMEP
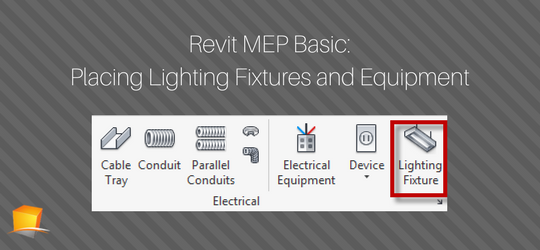
If you want to skip the previous tutorial and only want to learn about electrical, you can download the file here.

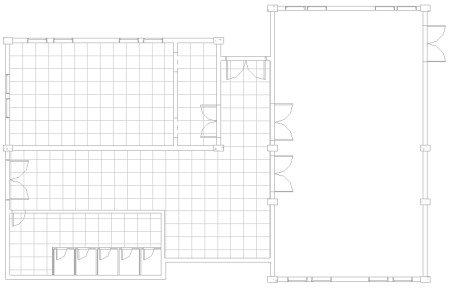
We are going to place the lighting on the ceiling. And we will use the ceiling grids as the reference. So now we work in the ceiling plan.

Open the Revit model. In the Project Browser, under Views> Electrical> Ceiling Plan open 1-Ceiling Elec.
Placing Lighting Fixtures

On Revit Ribbon> Systems tab> Electrical panel click Lighting Fixture.

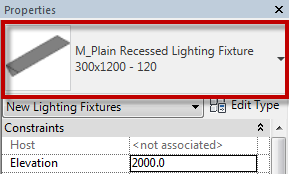
In Properties Palette, in the Type Selector, choose M_Plain Recessed Lighting Fixture 300×1200 – 120.
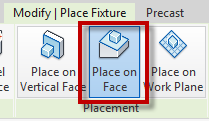
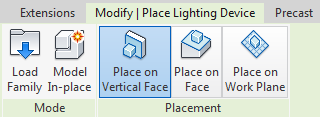
On the Ribbon, Contextual tab, Placement panel, click Place on Face.
Move your mouse to the ceiling grid. You can see the lighting preview now.
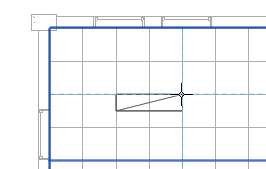
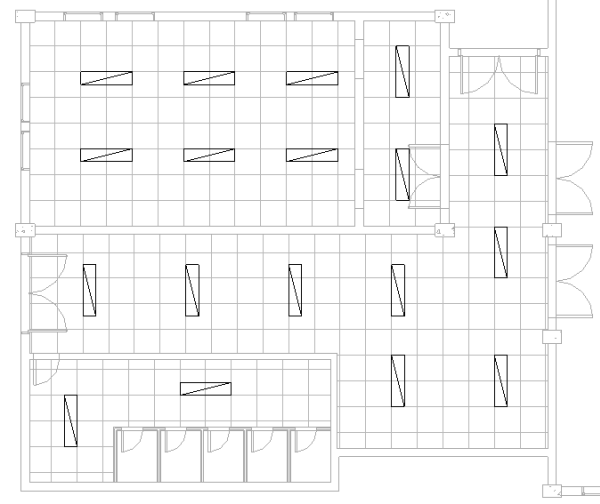
Place the light at the left top, approximately like the image above. Place more lighting by following the image below. The exact location of the lighting is not crucial.

Hint: Press the Space key to rotate the component during placement
Placing Switch

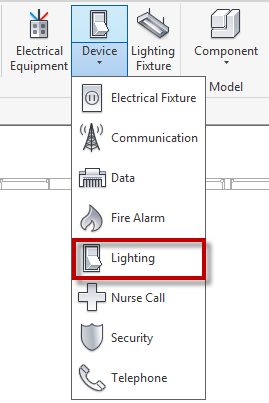
Next, place switches to the model. On Revit Ribbon> System tab> Electrical panel, click Device> Lighting.
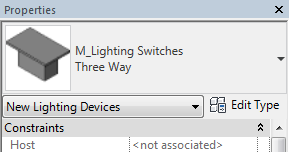
On the Type Selector, make sure the switch type is M_Lighting Switches, Three Way.
By default, the Placement method is Place on Vertical Face. We use it for placing the switches.
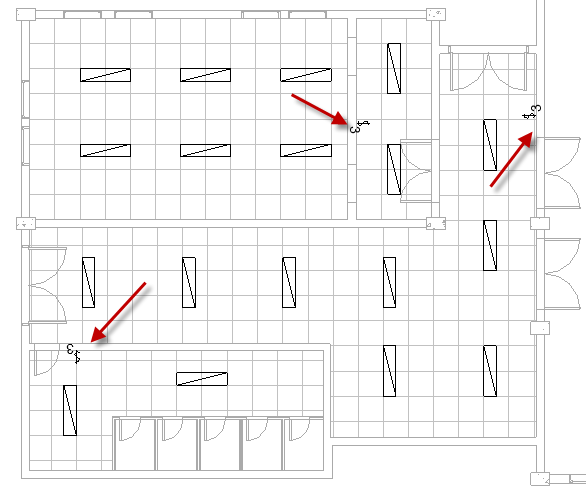
Place the switches like the image below.
Placing Panel

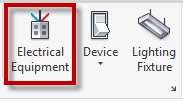
The last one is placing the panel. Click the Electrical Equipment tool.
In the Type Selector, make sure you choose Panelboard – 208V MLO, 225 A.

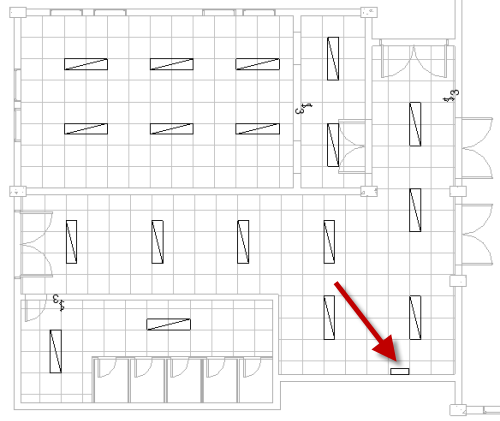
Place the panel, use the image below as a reference.

Remember, press Space if you need to change the panel orientation.
We will continue creating the system in the next tutorial. If you have problems, please ask in the comment section.


About Edwin Prakoso

I work as a Sr. Consultant in PT Cipta Satria Informatika. I've been using AutoCAD since R14 and Revit since Revit Building 9. I occasionally write for AUGIWorld magazine and I am also active in Autodesk discussion forum. I'm a member of Autodesk Expert Elite, an appreciation for individuals who give contributions to the Autodesk community.
Connect with me on twitter or LinkedIn.

Filed Under: Revit Tagged With: Revit MEP Basic

5 2 votes
Article Rating
Subscribe
Login
Notify of
guest

guest

This site uses Akismet to reduce spam. Learn how your comment data is processed.

3 Comments
Inline Feedbacks
View all comments
William
William
3 years ago

Wow! What an impressive way, you shared your deeply researched thoughts regarding this topic. I am going to share it with my friends.

0
Reply
Jarrett McAllister
Jarrett McAllister
5 years ago

I’m curious how important the order of operations is here. Why not locate your equipment first and add lights and switches at the end? Hopefully it doesn’t matter.

0
Reply
Edwin Prakoso
Edwin Prakoso
Author
Reply to  Jarrett McAllister
5 years ago

There is no particular order. You can place the equipment first then the lights and switches.

0
Reply
wpdiscuz   wpDiscuz

Featured

creating flat pattern Inventor

Automate Flat Pattern of Continuous Spiral Flight Design Using iLogic

See our tip how you can create flat pattern from Continuous Spiral Flight. And furthermore, we will automate this by using iLogic!

Recent Articles

  • Autodesk Construction Cloud Activity Log
  • Exporting AutoCAD Plant 3D Model to Navisworks
  • Autodesk Data Connector for Power BI is Now Available

Advertisement

New on CADnotes

  • Autodesk Construction Cloud Activity Log
  • Exporting AutoCAD Plant 3D Model to Navisworks
  • Autodesk Data Connector for Power BI is Now Available
  • Autodesk Forma Design Contest
  • Revit 2025: Toposolid Enhancements

Meet the Authors

avatar for
avatar for
avatar for
avatar for
avatar for
avatar for

Get Connected

CADnotes on FacebookCADnotes on InstagramCADnotes on TwitterCADnotes on YouTube

© 2009 – 2025 CADnotes · Feedback · Privacy Policy · Become an affiliate

wpDiscuz