 In the previous tutorial, we learn about creating roof in Revit model. We created a sloped roof, and a roof slab below it. We are going to use the roof slab as a gutter. So in this tutorial, we will close it edges using roof fascia. We will learn how to create two profile family, and use them to define our fascia.
Create a new family. You can create it by accessing Revit menu> New> Family. When Revit ask you for a template, select Metric Profile-Hosted.rft.
You will see an empty drawing area, with crossed dashed lines in the middle. This defines your insertion point, where your roof edge will be recognize by this family.
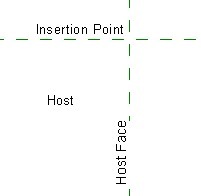
Activate lines from create tab in your ribbon. Draw this profile below.
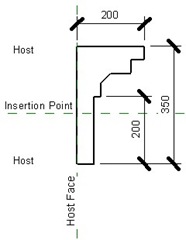
After you finish, save this profile. Give a relevant name such as “’roof slab edge profile’.
Now, open your training file. Load the profile we created before. You can load it by accessing Revit Menu> Open > Family.
We’ve just load the profile, but haven’t define where it should be used. Now we need to tell Revit to use it in a fascia family. Activate roof > fascia.
![]()
Revit will open contextual tab in your ribbon. Select element properties> type properties.
Click duplicate to create a new type. Give it name ‘Roof Slab Edge’. Now in the parameter, construction section, change the existing profile to your profile.

Close this dialog box. Now, make sure the active fascia type is Roof Slab Edge. Change it if necessary.

We have through the hard part, now we will do the fun part: placing the fascia. Placing fascia is very easy, just click on the roof edges.
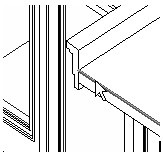
Click on every edge shown below. It’s fun, right? ;)
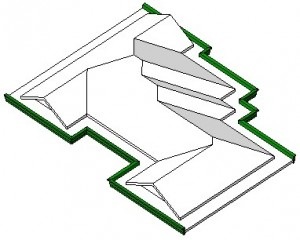
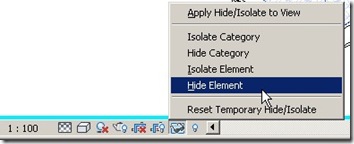
Now, activate modify tools (do you realize you can activate it by pressing [esc] several times – depends on which tool is active). Select the sloped roof, then click hide element from view control bar. It’s the one with sun glasses icon.
You could see the void edges are still opened. Can you define your own profile, then close these edges?
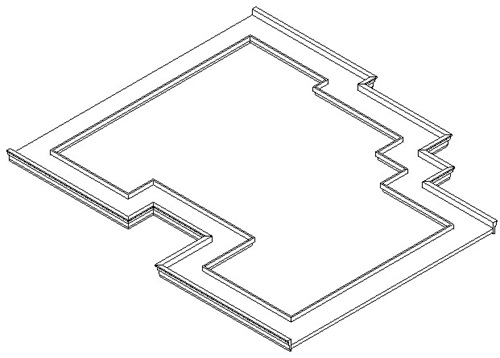
We have done with the roof. Next, we will create a staircase.
*You can purchase this tutorial compilation in an e-book. Find out the books in our E-Store .


Hi!
Just wanted to ask you how would you do a bullnose roof with in a “u” shape path? Ive tried doing a sweep but when I create the roof by face, it doesn’t allow me to select the curved part of it..
cheers,
mark
How did you create the sweep? Is it part of a mass? You can only user roof by face if you pick a mass face.
hello sir, could you please reupload the pictures? can’t follow it without a picture
btw, good job sir. I appreciate the lessons a lot.
The pictures look fine here. Have you tried to refresh your browser?
sir how to make a ridge roll for a roof?