I saw several questions about changing the default number of columns and rows in AutoCAD array command. By default, the array size is four columns and three rows. The spacing between objects is 1.5 times of the object size. If you want to create an array with different size, you need to modify it later from contextual menu or command line.
If you find this not convenient, you can create your custom command. You can use macro or LISP, but in this article, we will use Action Recorder. Action Recorder is often overlooked by AutoCAD users. But it is the easiest way to create a simple custom command. You don’t need to learn any programming to create a custom command. What I like about Action Recorder is we can type the command at the command line. We can’t do that with macro!
Now let’s see how to create custom array command with Action Recorder.
First, create any object in your AutoCAD drawing. We need it to record our actions.
Starting the Action Recorder
Go to Manage tab. Click Record button at the Action Recorder panel.
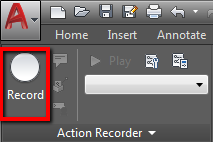
You can also activate it by typing ACTRECORD
Now you will see the red circle near the mouse pointer. It means AutoCAD is now recording what we do.
Working with Rectangular Array
Start the Rectangular Array command by typing ARRAYRECT then enter.
Select an object then press enter. AutoCAD will create a default array.
Type COUNT then press enter. AutoCAD will ask the number of columns and rows. Fill the value and press enter for each question.
Optional: Type SPACING if you want to be able to change the array spacing.
Type EXIT to end the command.
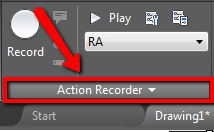
We have completed the actions. Stop the Action Recorder by pressing Stop button at the ribbon. Or type ACTSTOP then enter.
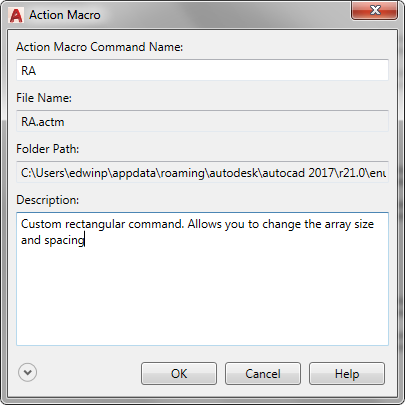
AutoCAD will ask for the recorded macro. Give it a short name or easy to remember. You can use it by typing at command line later. I use RA here.
Modifying the Macro
We have recorded our actions. Now we need to modify our macro to allow the user to select objects and input the values.
Make sure your macro is selected from the list, then click the action recorder panel name to expand the action tree.
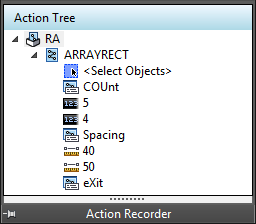
You will see the list of actions when you create the rectangular array. I need the user to select objects, change the number of columns and rows, then the column and row spacing.
Right click on <Select Object> then choose Pause for User Input from the contextual menu. Now it will ask the user to select objects when running this macro.
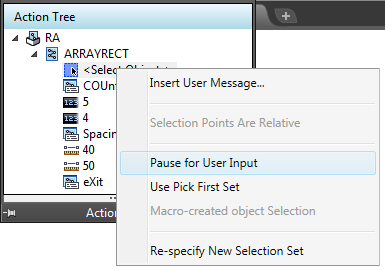
Repeat the same procedure for the COUNT and SPACING values. Right click on the values, not the command.
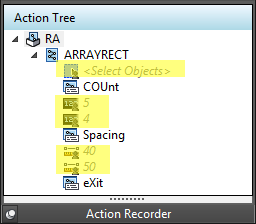
Refer to this image below, which actions that should ask for user input.
Now we are finished.
Using the Macro
You can run the macro by clicking the Play button. Or by typing the macro name. AutoCAD will ask you to select objects, then ask for the number of columns and rows, then the spacing.
That’s pretty simple isn’t it?
To Sum Up
Action Recorder probably is not an advanced feature. I remember people was hoping for more advanced recording function. Like .NET programming. Where we can modify the command scripts later.
Action Recorder was not built for that. It is for users who want to create custom commands without any programming knowledge. It works well for that purpose.
How about you? Do you like the Action Recorder? What macro have you created?


First time I have heard of action recorder. It worked really well, thanks! I’m wondering what other uses I might find for it.