In this Article...
Parts and assemblies are Revit 2012 new features. First time I heard about these terms, I thought they’re similar to parts and assemblies in MCAD application like Inventor. But apparently no. Part in Revit and part in Inventor are different concept.
In Revit, you can divide element into smaller parts. Snipped from help file:
Parts can be generated from elements with layered structures, such as:
Walls (excluding stacked walls and curtain walls)
Floors (excluding shape-edited floors)
Roofs (excluding those with ridge lines)
Ceilings
Structural slab foundations
The idea of dividing into parts is for scheduling and tagging purpose. So we can deliver schedule report in more details, and also flexibility to work with smaller parts.
Let’s try to create parts from a wall.
Creating Revit parts
We can create parts from an element by selecting it and click create parts from contextual ribbon.

In this example,I use basic wall. It has several layers.

I select it and click create parts, then each layer will become a part. If you move your pointer above the wall, you will see they are separate parts.
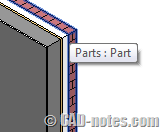
If you don’t see the parts, check your properties palette. When you have nothing in selection set, it should show you view properties.
Check if parts visibility value is show parts.
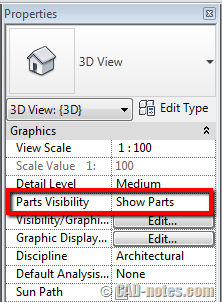
You should be aware that if you set it to show original , you will not be able to select part in this view.
Dividing Parts
Still need to divide them to smaller parts?
After you create parts, you can split it further. Select your part and click divide parts.

Remember, you have to select part, not the original element. Selecting wall in parallel elevation view can be difficult, so it might be easier if you open multiple views if you have high resolution.
After you activate it, you might need to set work plane to work with this part. You can just pick part faces as a plane.

Now all we need is to divide the part into smaller parts. Draw lines as necessary to divide it.
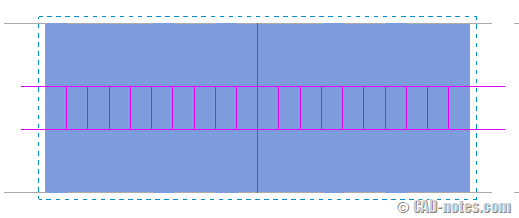
After you finish with the sketch, click finish edit mode.
![]()
You should see your wall is divided to smaller parts.
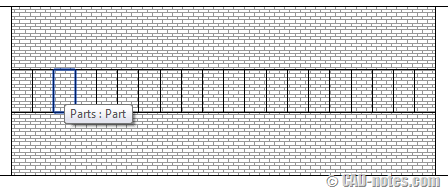
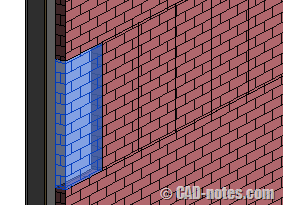
We will continue working with parts in the next article. We will work with tags.


I was just having the same problem on a long wall with many openings and embedded walls. For me the issue was that my division was occurring precisely on the line of intersection with the crown of an embedded arch. Offsetting my line 1/8" solved the problem.
Other than that, make sure that you select the work plane to be the plane of your working surface. Also, if your division comes to the edge of the wall, make sure that if your division line actually well extends BEYOND the boundaries of the wall, not up to them. If the division is a closed loop, contained within the boundaries of the wall, this would not apply.
Anyone know if you can divide parts of a radial wall?
I am having trouble dividing parts- I draw up my tile floor and when hit the check button I keep on getting the error – Nothing will be divided. What am I doing wrong?
Hey, I was wondering if I could split a huge floor that I created into different portions. I could do it the other way by creating individual blocks of floor, and therefore it would be separated. But just wondering if theres a way to split into different portions on a area.
Thanks and do advise at your convenience . Appreciated :)
Oh by the way i'm using 2011 Revit
I don't think we can do it in Revit 2011. We can make parts from a component in 2012, but not in 2011.