This image below was drawn in AutoCAD. Take a look at the railing in red circle. How can we make baluster like that?

It’s just actually a simple, boring repetitive task. As you can see, I use the baluster in all railings. I made it as a block.
After I have it as block, I can insert it and squeeze the X scale a little. I only change the X scale, but I keep Y and Z scale 1.
To do that, make sure you uncheck the “Uniform Scale” option when you insert your block.
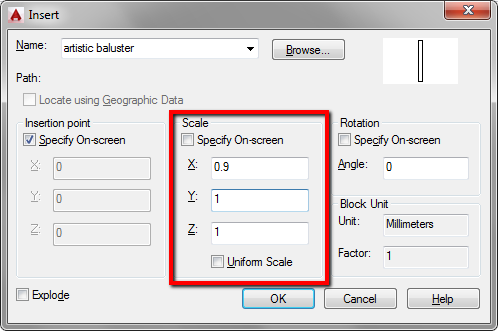
It could be 0.90. Then I repeat the process and place the next one with X scale 0.80. The next one 0.75. I repeat the process until the last baluster. To get the correct scale, you might need to do some trials. But you get the idea.
There are many things you can do with non uniform scale. This is just one of it.
If you ever need to scale your object non-uniformly, what do you need it for? Can you share with us?


Hi Edwin,
Thanks for your suggestion.
When I insert block with non-uniform scale, I can't trim & extend object to non-uniform scale block. Any suggestion? I found it Ok when inserting block with uniform scale.
Winko,
You're right. It's the limitation of using non-uniform scale insertion. We need to draw temporary lines by snapping to the non-uniform block.
This is the downside of using this method.
I have found this tip to be quite useful in aligning raster pictures that won't align to AutoCAD entities. I often need to overlay older scanned survey plans onto compiled AutoCAD objects, and rarely do they ever line up correctly (due to the raster drawing being scanned poorly). Turn the raster image into a block, and then adjust the scale in either the X or Y. It's like rubbersheeting the image without the Raster Design!